fun by hosting a Tutorial SPRING!
Spring from one blog to another and learn
something new! It is Day 2 of our blog hop.
Today, be sure to visit -
Carla Sonheim - Bunny Power: Quick Tombow Rabbits
Jane LaFazio - Freezer paper stencils from sketchbook images
and I am sharing a tutorial below on Painting A Bird's Egg...

1. Cut a piece of 200-thread count bleach muslin
fabric and draw the outline of a bird's egg

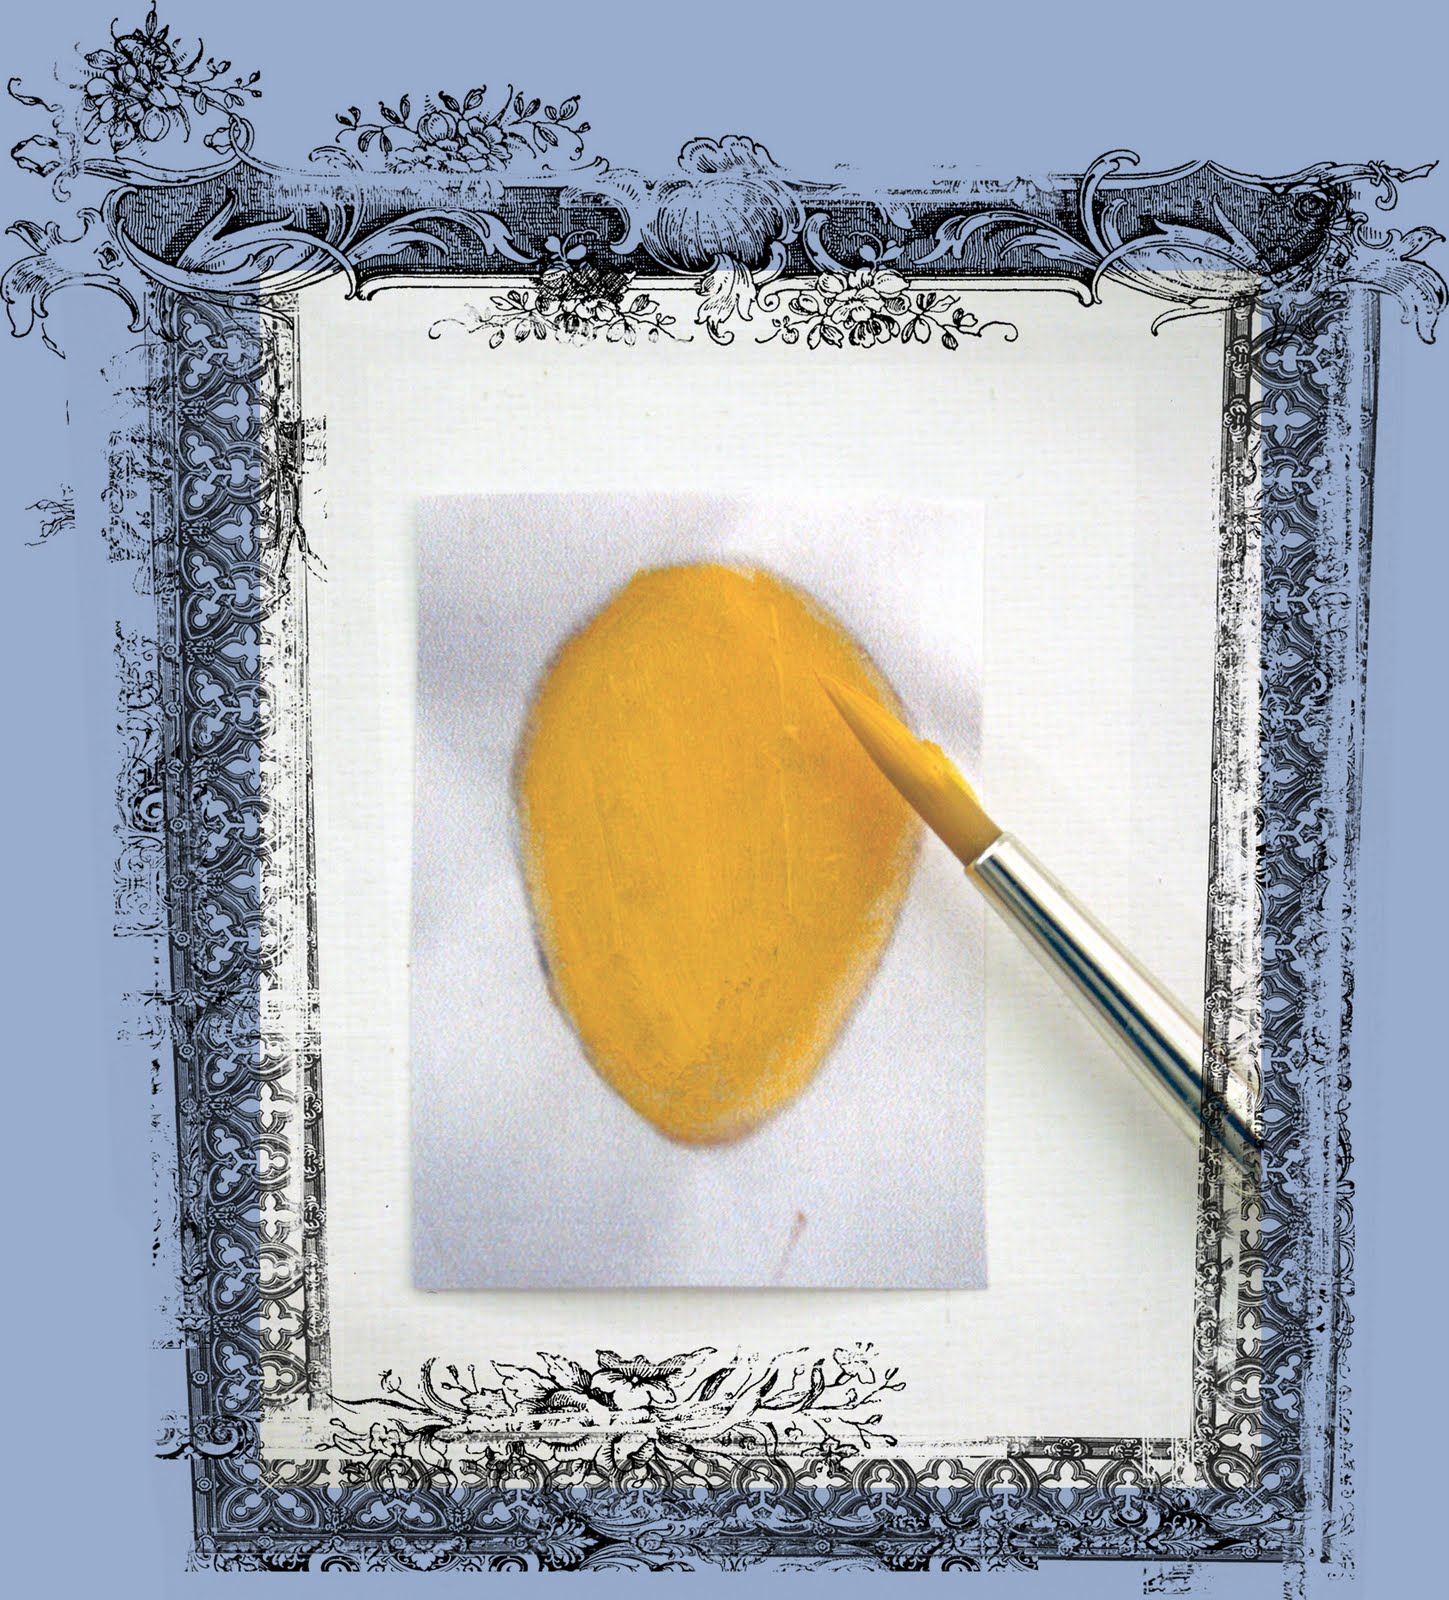
2. Take your favorite brand of acrylic paints,
and apply a base color of cream or warm white

3. Once the base coat is dry, paint a top coat
to match the color of the bird's egg.
4. Once the top coat is dry, use white paint for highlighted
areas and raw umber or indigo blue paint for shadowy areas.
Build up each area with thin layers of paint and water, called
a wash, to achieve a sense of depth.

5. Most bird eggs have spotted or streaked markings.
One way to add subtle spotting to the egg is with a technique
call spattering. Using a warm brown color, thin the paint down
with water, dip a small stencil brush into the paint/water mixture
then use a finger to bend the brush bristles toward the body and
release.
*Be careful to cover and protect areas not to be spattered.

6. Add additional marks by using the side of the paint brush,
a skewer, toothpick, and small dowels.

Coming Up!...
On Thursday, March 31st - Alisa Burke, Jill Berry, and Lyric Kinard
On Friday, April 1st - Judy Coates Perez
Stop by each site to find a plethora of
inspired projects and tutorial joy!