Showing posts with label Tutorial. Show all posts
Monday, April 30, 2012
Tutorial: A Stenciled & Stitched Special Occasion Greeting Card
SO EXCITED, as tomorrow is May 1st! My Art Spark Friends and I are kicking off a week long May Day Celebration with a Tutorial Blog Hop. I am the first of seven participating in this event.
Today, I am sharing how to create a unique "Stenciled & Stitched Special Occasion Greeting Card"... PERFECT for friends or family!
1. Start by purchasing a package of Blank Die-Cut Greeting Cards. These can be found at a Hobby Craft Store in various Die-Cut Shapes. I am using a Tri-Fold, Square Die-Cut card in this example.
2. Cut a piece of bleached muslin fabric 1/2" larger on all sides than the smallest card window. Using a pencil, trace the size of the window onto the fabric.
3. Position a chosen stencil design inside the traced box on fabric. Apply acrylic paint with a stencil brush to the open areas of the design. In order to achieve a crisp image remember to remove excess paint from the stencil brush before each application.
In this example, I am using one of My NEW! Bird Stencils by StencilGirlProducts.
4. Once the stenciled design is dry, paint the background.
In this example, I am using a wash of Tsukineko Walnut Crystals.
5. Once the background is dry, add handstitched details with bright colored thread to the stenciled painting. Before stitching, use a pencil to draw out your desired shapes or message.
6. When finished with the handstitching, sew the right, left, and bottom sides of the artwork to the tri-fold card. Be sure that the art can be seen through the die-cut shape of the card.
7. Insert a little batting or a piece of felt between the artwork and the card to make the piece dimensional.
8. Finally, sew around all sides of the artwork and card.
COMING UP!....
On Tuesday, May 1st - Traci Bunkers - Gelatin Plate Printing On Fabric
On Wednesday, May 2nd - Lisa Engelbrecht - Script Lettering, Tattoo Style
On Thursday, May 3rd - Judy Coates Perez - How Can You Resist Such A Simple Technique
On Friday, May 4th - Melanie Testa - Thimble Cinch Add On Pattern
On Saturday, May 5th - Lyric Kinard - How To Edit Photos for ThermoFax Screens
On Sunday, May 6th - Jill Berry - Layers Of My Heart
Stop by each site for more May Day inspired projects and tutorial joy!
Monday, March 12, 2012
Tutorial: Painting Bird's Egg
Watching little birds build a nest in the wreath
on my front door has me inspired by the arrival
of the Spring. I invite you to create along with me.

1. Cut a piece of 200-thread count bleach muslin
fabric and draw the outline of a bird's egg

2. Take your favorite brand of acrylic paints,
and apply a base color of cream or warm white

3. Once the base coat is dry, paint a top coat
to match the color of the bird's egg.

4. Once the top coat is dry, use white paint for highlighted
areas and raw umber or indigo blue paint for shadowy areas.
Build up each area with thin layers of paint and water, called
a wash, to achieve a sense of depth.

5. Most bird eggs have spotted or streaked markings.
One way to add subtle spotting to the egg is with a technique
call spattering. Using a warm brown color, thin the paint down
with water, dip a small stencil brush into the paint/water mixture
then use a finger to bend the brush bristles toward the body and
release.
*Be careful to cover and protect areas not to be spattered.

6. Add additional marks by using the side of the paint brush,
a skewer, toothpick, and small dowels.
Monday, February 27, 2012
Tutorial: Colorful Nesting
With Spring on the horizon, it is a good time
to prepare nesting materials for garden and
woodland birds to use. Here is a tutorial
for infusing a bit of color into a little bird's
abode.
1. Start by gathering several colorful skeins
of yarn.
2. Next cut a sturdy piece of cardboard
approximately, 6" length X 4" width.
*It is very important that nesting
materials be no longer than 6" to keep
little birds from becoming tangled.
3. Wrap strands of yarn around the
cardboard.
4. Cut the wrapped yarn from the cardboard,
making sure to clip both edges, so that no
strand is longer than the maximum length.
5. Gather the prepared nesting materials
in a large plastic bag. I like to cut a enough
yarn to fill a 1 gallon bag.
6. Hang a basket outside with the nesting
materials tucked inside.
Then watch for bits of bright color to
appear among the tree branches during
the Spring and Summer. The brighter
the colors the easier the yarn is to
see.
Wednesday, February 01, 2012
Tutorial: Valentine Message Pillows
It is Day 8 and the final HeARTfest! Valentine Tutorial.
This is a 2 for 1 post of instructions for making several
unique and custom message pillows.
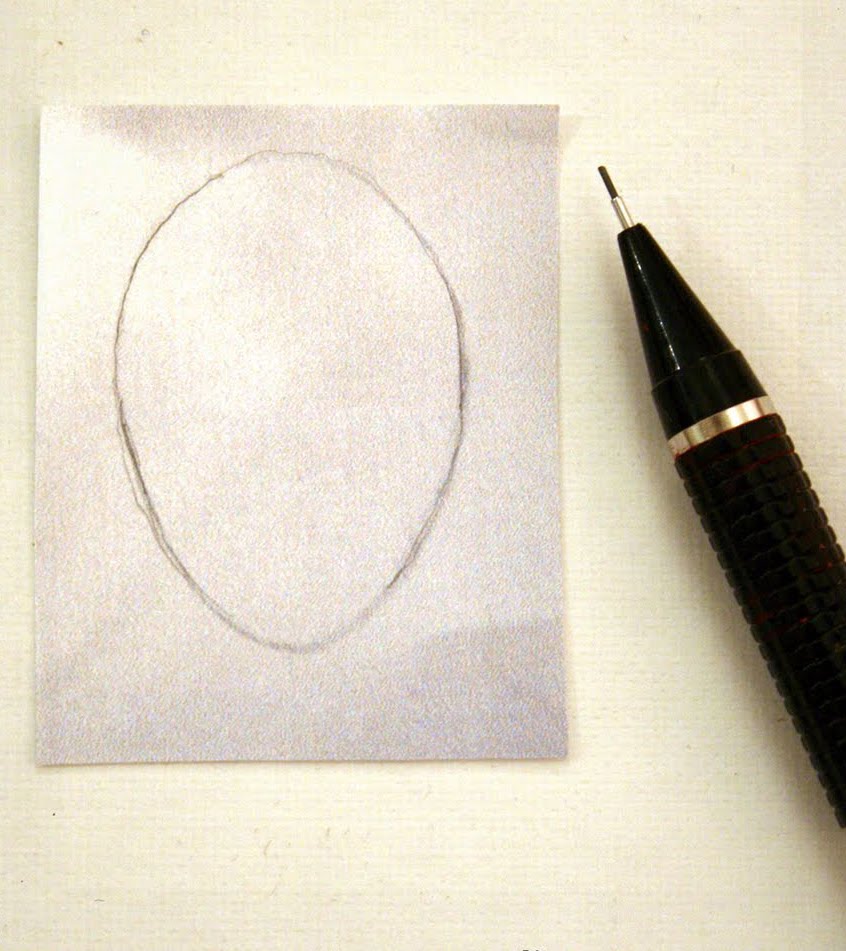
1. Cut one piece of fabric approximately 8" x 6".
Paint one side with Valspar Chalkboard Paint (found at Lowe's Hardware)
2. When the paint is dry, fold a 0.5" edge on all sides
and stitch in place to keep the fabric from unraveling.
Also. trim the corners at a diagonal to keep excess
fabric from showing. Be careful not to cut any stitches.

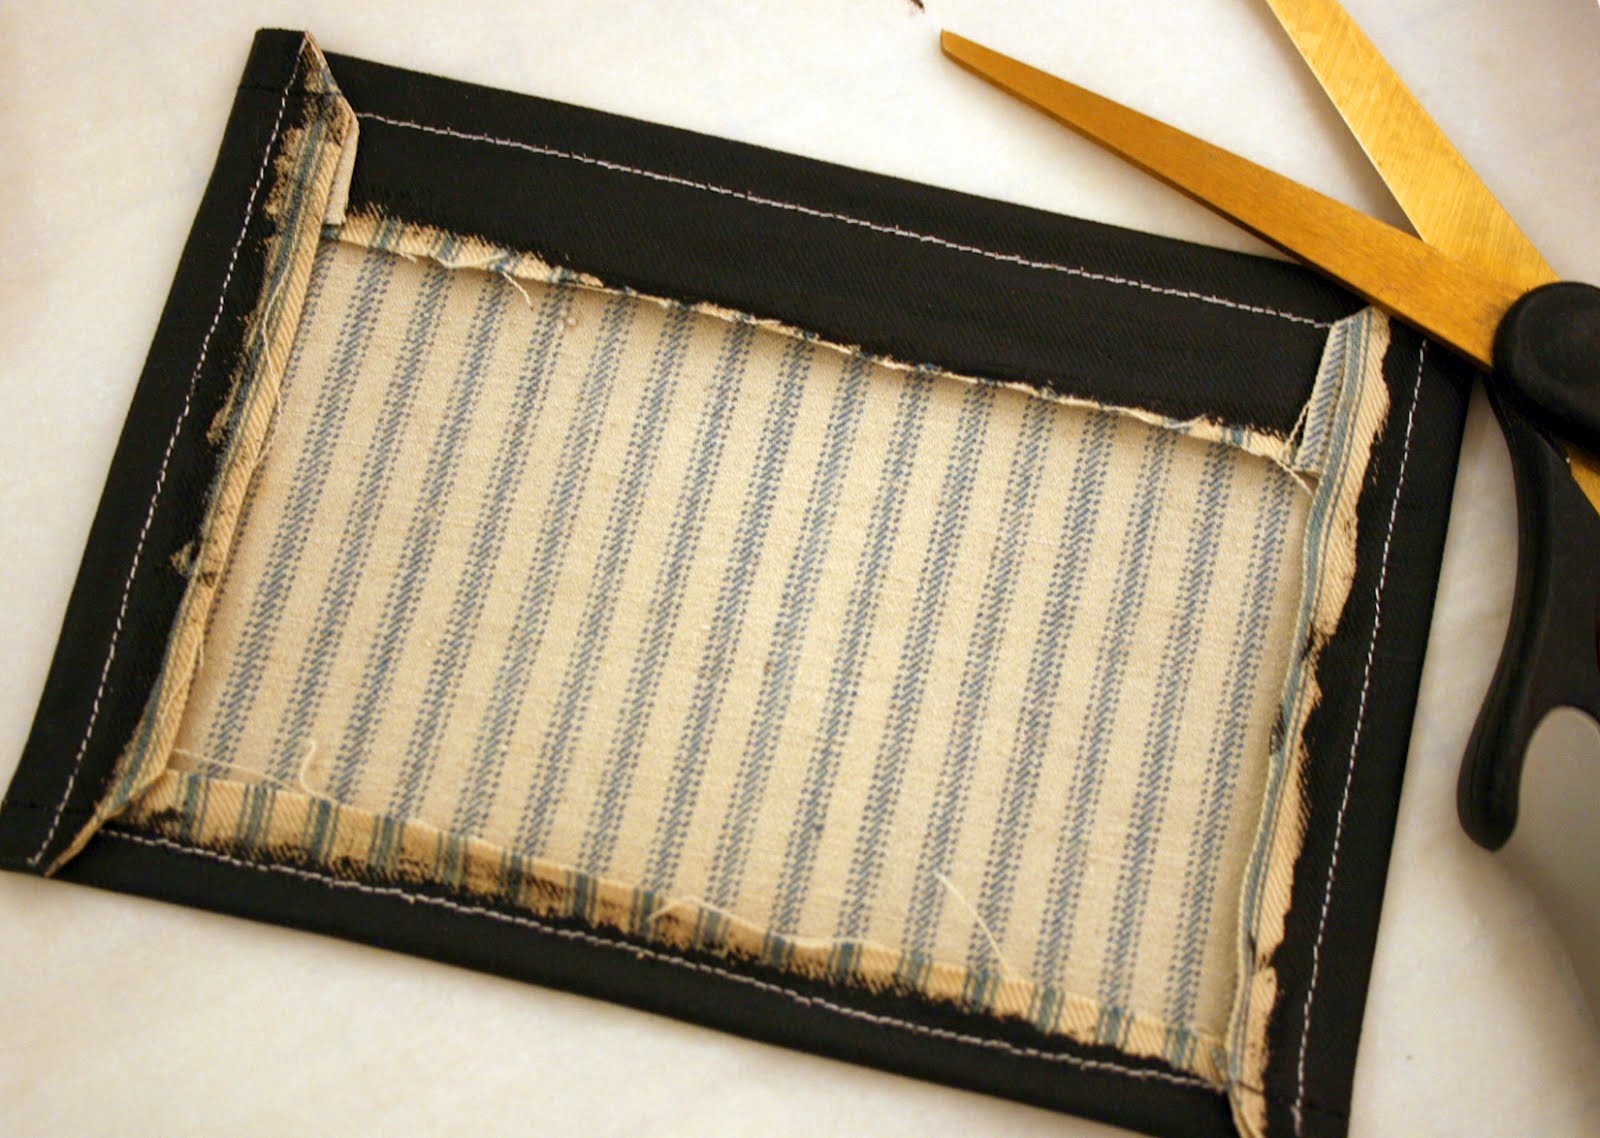
3. Cut two larger pieces of fabric approximately 14" x 10".
4. Stitch the painted chalkboard fabric (black side
up) to the right side of one of the larger fabric pieces.
Position the painted fabric vertically 2.5" from the
bottom and centered horizontally on the larger fabric.
5. Place the two right sides of the larger fabric pieces
together and stitch. Remember to leave an opening to
turn the fabric and for stuffing the pillow with batting.
Once the pillow is stuffed, sew the opening shut.
6. Write your message on the pocket with
chalk and clean with water.
The second message pillow is a tutorial I have shared
before but is Perfect for any occasion!

1. Cut two pieces of fabric approximately 13" x 13".
Paint one side of one of the pieces of fabric with
white acrylic paint.

2. When the paint is dry, use a red and blue sharpie
marker to draw lines across the white area of the
fabric mimicking the look of a piece of notebook
paper.

3. Select a favorite verse of poetry or special message
and use a pencil to carefully write out the words on the
blue lines. If you make a mistake then erase the pencil
marks and start again. Once written, use a black sharpie
marker to trace over the pencil marks.

4. Place the two right sides of the fabric pieces together
and stitch. Remember to leave an opening to turn the
fabric and for stuffing the pillow with batting. Once the
pillow is stuffed, sew the opening shut.

If you did not get a chance to follow along during our
heart inspired blog-hop be sure to check out the other
fabulous, fun, and easy Valentine Projects to make your
upcoming holiday...FAN-TASTIC!
Day 1 with Jane LaFazio
Day 2 with Traci Bunkers
Day 3 with Diana Trout
Day 4 with Lyric Kinard
Day 5 with Judy Perez
Day 6 with Kelli Nina Perkins
Day 7 with Melanie Testa
Monday, January 23, 2012
Tutorial: A Valentine Sentiment and MORE EXCITING HOLIDAY PROJECTS!!!

With Valentines just around the corner,
I wanted to share a favorite Tutorial for
creating very unique and beautiful
sentiments to give.
1. White wash the postcard using a paint brush
and several coats of white acrylic paint

2. Place muslin fabric over a copy paper butterfly
image. Using a mechanical pencil trace the butterfly
outline and any large details onto the fabric.

3. Paint the butterfly outline on fabric using
a #3 round paintbrush and the appropriate
colors of acrylic paint.

4. One the painted fabric is dry, cut the
butterfly out using small embroidery scissors
5. Layer a silk fabric square on the vintage
postcard, along with lace, a rice paper heart,
and the painted butterfly on top.
6. Sew the silk fabric, lace, rice paper heart
and butterfly to the postcard
7. Add your heartfelt message to the remaining
white-washed area of the postcard.
BUT WAIT!...
Starting Wednesday, January 25th follow
along as a group of FABULOUS artists,
share "HeARTfest!!!", even more
fun and easy Valentine Projects to make your
upcoming holiday of love...FAN-TASTIC!
Wednesday, Jan. 25th - Jane LaFazio
Thursday, Jan. 26th - Traci Bunkers
Friday, Jan. 27th - Diana Trout
Saturday, Jan. 28th - Lyric Kinard
Sunday, Jan. 29th - Judy Perez
Monday, Jan. 30th - Kelli Nina Perkins
Tuesday, Jan. 31st - Melanie Testa
Wednesday, Feb 1st - Me!
Monday, January 16, 2012
Tutorial: Chalkboard Tags

I absolutely LOVE this project and am so excited to share
a tutorial with you!
Lately, I have been doing a bit of deep cleaning in my
studio, and I needed a way to mark various bins and
boxes. So I thought I would make some super easy
chalkboard tags to help me organize my supplies.
1. Start with a quart of Valspar Chalkboard Paint.
*Valspar paint can be found at Lowe's Hardware
2. Next gather several plain Shipping Tags that
can be purchased from an Office Supply Store.
3. Remove the string from the Shipping Tag
and gently peel off the top layer of the hole
protector.
4. Using a Sponge Brush coat the Shipping Tag
with two layers of Chalkboard Paint.
*The shipping tag curls when painted but
flattens out after the paint has dried
5. After the Shipping Tag is thoroughly dry,
apply a thick third coat of Chalkboard Paint.
6. Once the final coat is completely dry, re-tie
the string onto the Shipping Tag and glue the
peeled layer from the hole protector back in place.
Now, the Chalkboard Tag is ready to use and reuse!
Subscribe to:
Posts (Atom)